Sourdough Discard Sandwich Bread: Tasty & Easy-to-Make
Every loaf has a story, and this sourdough discard sandwich bread is no exception. It’s about turning leftover sourdough starter into a healthy, tasty meal. This change has completely shifted my baking approach.
Think about making a homemade sourdough discard bread that’s not only yummy but also good for you. This recipe is more than just bread. It’s about getting more nutrition, cutting down on waste, and having fun in the kitchen.
This sourdough discard sandwich bread is more than a recipe. It connects old baking ways with today’s health needs. It lets you enjoy artisan-style bread quickly and easily, without the long prep time.
Table of Contents
Understanding Sourdough Discard Bread Basics
Sourdough discard recipes turn food waste into tasty, healthy bread. Learning to use sourdough discard opens up a world of creativity. It saves time and cuts down on kitchen waste.
What Sets Sourdough Discard Bread Apart
Sourdough discard bread is different from regular sourdough. It mixes sourdough’s tangy taste with the ease of commercial yeast. This mix makes a bread that:
- Rises faster
- Has a more even texture
- Is easier to prepare
Benefits of Using Sourdough Discard
Using sourdough discard recipes has many benefits:
| Benefit | Description |
|---|---|
| Digestibility | Makes wheat proteins easier to digest |
| Nutrient Absorption | Boosts mineral and vitamin availability |
| Blood Sugar | Helps control blood sugar levels |
Quick Rise vs. Traditional Fermentation
Quick rise bread is a time-saver when using sourdough discard. Traditional fermentation can take up to two days, but quick rise lets you make bread in a day. This is great for those with busy schedules.
“Sourdough discard bread bridges the gap between traditional baking and modern convenience” – Artisan Baker’s Insight
Essential Ingredients for Perfect Sourdough Discard Sandwich Bread
To make the best sourdough discard bread, you need the right ingredients. These ingredients work together to create a soft, tasty sandwich loaf. Your sourdough discard starter bread starts with top-notch components. These turn simple ingredients into a homemade treat you’ll love.
Now, let’s look at the key ingredients that make your bread-making journey better:
- Flour Blend:
- 450g all-purpose flour
- Optional flour substitutions:
- Rye flour
- Spelt flour
- Einkorn flour
- Half white, half wheat blend
- Liquid Components:
- 240g warm water
- Whole milk for extra richness
- Flavor Enhancers:
- 50g honey
- 100g sourdough discard
- Unsalted butter
- Salt for structure and taste
Your leavening agents are key to the bread’s success. The recipe uses 7g of active dry yeast (one standard packet) for rising. King Arthur bread flour is suggested for its high protein content. This makes the bread chewy and delicious.
“The secret to great sourdough discard bread lies in the quality of your ingredients and the care you put into preparation.”
| Ingredient | Quantity | Purpose |
|---|---|---|
| All-Purpose Flour | 450g | Provides structure and texture |
| Sourdough Discard | 100g | Adds tangy flavor and complexity |
| Active Dry Yeast | 7g | Ensures proper rising |
| Honey | 50g | Adds sweetness and helps browning |
Choosing premium ingredients and knowing their roles will help you make the best sourdough discard sandwich bread at home.
Kitchen Tools and Equipment Needed
Preparing sourdough discard bread needs specific tools. These tools can make your baking better. Whether you’re new or experienced, the right tools make bread-making fun and easy.
Essential Baking Tools for Sourdough Bread
To make perfect sourdough discard sandwich bread, you need a few key tools:
- 9×4-inch Pullman pan for consistent loaf shape
- Reliable kitchen scale for precise ingredient measurements
- Sturdy mixing bowl for dough preparation
- Bench scraper for handling sticky dough
- Cooling rack to prevent bread from becoming soggy
Optional Equipment to Enhance Your Baking
These tools can make your sourdough discard bread better:
- Stand mixer with dough hook for easier kneading
- Bread machine for simplified dough preparation
- Proofing basket for professional-level bread shaping
- Digital instant-read thermometer for precise temperature checking
| Tool Category | Essential Items | Price Range |
|---|---|---|
| Baking Vessels | Pullman Pan, Baking Stone | $20-$50 |
| Measuring Tools | Kitchen Scale, Measuring Cups | $15-$35 |
| Preparation Tools | Bench Scraper, Mixing Bowls | $10-$25 |
“The right tools can turn bread-making from a challenge to a delightful experience.” – Professional Baker
Getting good sourdough discard bread tools doesn’t have to cost a lot. Start with the basics and add more as you get better at bread-making.
Preparing Your Sourdough Discard Starter
Creating a vibrant sourdough discard starter is key to making delicious sourdough discard sandwich bread. Your starter is a living mix of wild yeasts and beneficial bacteria. It adds incredible depth of flavor to your bread.
To make an exceptional sourdough discard starter, follow these important steps:
- Keep a consistent 1:1 ratio of flour and water by weight
- Use high-protein bread flour with at least 11% protein content
- Keep your starter at a warm temperature around 70-80°F
You can use your sourdough discard straight from the fridge without extra activation. Both fresh and mature discard are great, with older discard adding more tanginess to your bread.
“A good sourdough starter is like a culinary treasure, developing flavor with each feeding and use.” – Artisan Baker’s Wisdom
If you’re starting from scratch, use about 37 grams each of all-purpose flour and water to start your starter. The magic of sourdough discard is how it turns simple ingredients into a flavor-packed bread experience.
| Starter Characteristic | Recommended Value |
|---|---|
| Flour Protein Content | 11% or higher |
| Water to Flour Ratio | 1:1 by weight |
| Ideal Temperature | 70-80°F |
| Discard Amount for Bread | ¾ cup (approx. 200 grams) |
Remember, your sourdough discard starter is a living ingredient that needs care and attention. Regular feeding and proper storage will keep your starter strong. This way, you’ll always have a robust starter ready to make delicious sourdough discard sandwich bread.
Step-by-Step Mixing and Kneading Process
Making the perfect sourdough discard bread recipe needs precision and skill. The mixing and kneading steps are key. They help create a light, tasty sandwich bread that will impress you.
Proper Kneading Techniques
Kneading turns raw ingredients into a smooth, elastic dough. First, gather your ingredients:
- 1 cup (250g) sourdough discard
- 1 1/2 cups warmed milk
- 2 1/2 teaspoons instant yeast
- 4 1/2 cups bread flour
- 1/4 cup canola oil
- 1 tablespoon granulated sugar
“The key to great bread is in the hands-on technique of kneading.” – Artisan Baker’s Wisdom
Visual Cues for Perfect Dough Consistency
When kneading, look for these signs of perfect dough:
- Smooth, silky texture
- Elastic when stretched
- Slightly tacky but not sticky
- Holds shape when pressed
| Kneading Stage | Duration | Expected Result |
|---|---|---|
| Initial Mixing | 3-4 minutes | Shaggy, rough dough |
| Active Kneading | 8-10 minutes | Smooth, elastic dough |
| Rest Period | 15 minutes | Relaxed gluten structure |
Pro tip: Use a stand mixer on LOW speed (setting 3) for consistent kneading, which typically takes 8-10 minutes. This ensures even gluten development in your sourdough discard bread recipe.
The Art of Dough Rising and Proofing
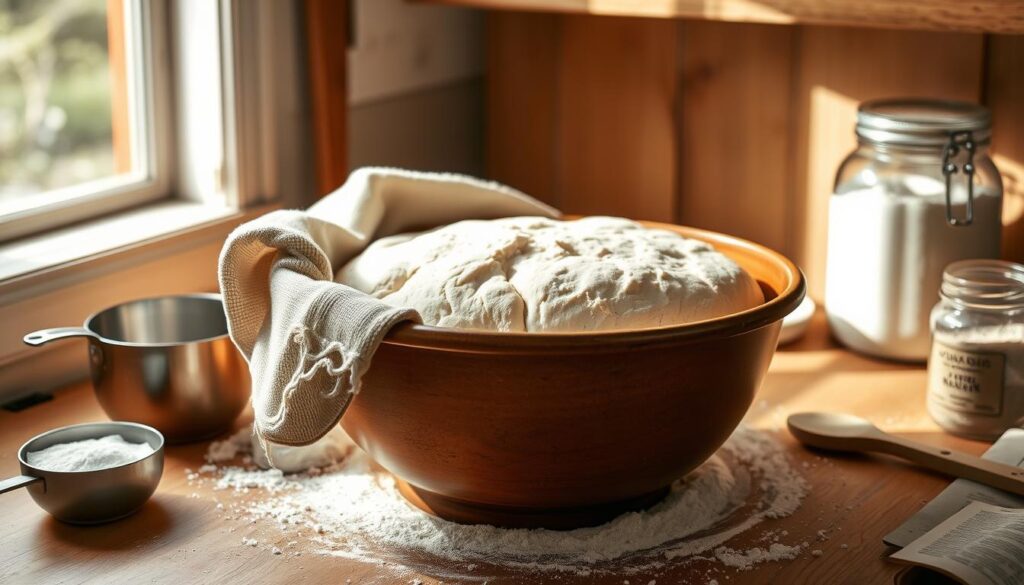
Learning to make sourdough discard bread rise is key for home bakers. The proofing stage turns your dough into a light, airy loaf. This process needs the right temperature and patience for the best results.

Knowing how dough rises is vital for making amazing sourdough discard bread. It usually takes 1.5 to 3 hours to proof at warm temperatures. The environment in your kitchen greatly affects how long it takes.
“The magic of bread is in its transformation during proofing.” – Artisan Baker
Key Factors Affecting Dough Rising
- Room temperature (ideal range: 70-80°F)
- Humidity levels
- Sourdough starter strength
- Flour type and hydration
Professional bakers say to look for visual signs during sourdough discard bread rising. The poke test is a good way to check if the dough is ready. Press the dough gently with your finger. If it slowly springs back and leaves a small dent, it’s proofed just right.
Proofing Time Variations
| Proofing Method | Duration | Temperature |
|---|---|---|
| Warm Proofing | 1.5 – 3 hours | 70-80°F |
| Cold Proofing | 8 – 16 hours | 38-45°F |
Cold proofing in the fridge can make the bread taste more complex. But, remember, temperatures over 85°F can make the bread too flat and dense. Keep an eye on your dough and adjust your kitchen’s temperature for the best rise.
Shaping Your Sourdough Discard Sandwich Bread
Making the perfect sourdough discard sandwich bread needs careful shaping. This turns your dough into a beautiful, well-structured loaf. The right way to shape it can make a big difference in its texture, rise, and look.
Creating the Perfect Loaf Shape
When shaping sourdough discard bread, being precise is important. Begin by dividing your dough into equal parts. For a classic sandwich loaf, follow these steps:
- Gently flatten the dough into a rectangular shape
- Roll the dough tightly into a cylinder
- Pinch the seams to seal the roll completely
- Place the shaped dough in a greased loaf pan
Tips for Even Rising
To get a consistent rise in your sourdough discard sandwich bread, follow these tips:
- Make sure your dough is at room temperature before shaping
- Use a 4-piece side-by-side shaping method to prevent splitting
- Let it proof for 1-2 hours
- Adding seeds or nuts on top can add extra texture
“The art of bread shaping is about patience and technique, transforming simple ingredients into a beautiful, rising masterpiece.”
Pro tip: For a perfectly risen sourdough discard sandwich bread, let it rise in a warm, draft-free spot. The best temperature is between 75-80°F. This helps yeast work well and ensures a consistent rise.
With these shaping techniques, you’ll make a sandwich bread that’s not just tasty but also looks great. It’s perfectly structured for your favorite fillings.
Baking Techniques for Golden Brown Crust
Mastering sourdough discard bread baking is all about precision and understanding key techniques. A golden-brown crust turns your homemade bread into something special.

- Preheat your oven to 350°F (175°C)
- Position the rack in the center of the oven
- Use a reliable oven thermometer for accuracy
Several factors affect crust development:
| Technique | Result | Recommendation |
|---|---|---|
| Egg Wash | Shiny Golden Surface | Brush before baking |
| Oil Brush | Softer Exterior | Alternative to egg wash |
| Butter Finish | Enhanced Softness | Brush after baking |
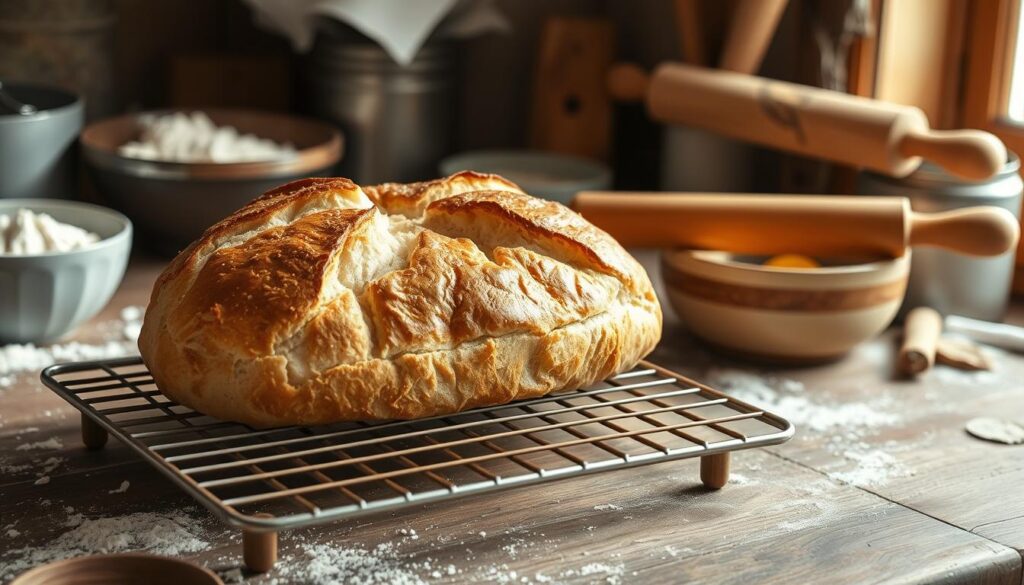
Professional bakers suggest checking the bread’s internal temperature. Aim for 190°F (88°C) for perfect doneness. Baking time is usually 30-45 minutes, depending on your recipe and oven.
“The secret to a perfect crust lies in understanding your oven and ingredients.” – Artisan Baker’s Wisdom
Baking sourdough discard bread is both a science and an art. With practice, patience, and attention to detail, you’ll make delicious sandwich loaves with stunning golden-brown crusts.
Storage and Preservation Methods
Properly storing sourdough discard bread can make it last for days or weeks. The secret to keeping it fresh is knowing the right storage methods.
After baking your sourdough discard bread, let it cool completely for 20-30 minutes. This step is key to avoiding moisture buildup and keeping the bread’s texture perfect. Cutting into warm bread can make it gummy and stale faster.
Short-Term Storage Options
- Room temperature storage in a bread box or sealed container
- Keep at room temperature for 5-7 days
- Use a paper bag or cloth bread bag to maintain ideal humidity
Long-Term Preservation Techniques
- Wrap individual slices in plastic wrap
- Place wrapped slices in a freezer-safe bag
- Freeze for up to 6 months
“Proper storage can extend the life of your sourdough discard bread while maintaining its delightful flavor and texture.”
| Storage Method | Duration | Best Practices |
|---|---|---|
| Countertop | 5-7 days | Use bread box or cloth bag |
| Freezer | Up to 6 months | Wrap individually, seal tightly |
To enjoy frozen bread, thaw it at room temperature. Then, refresh it in a toaster or oven for that fresh-baked taste. Storing sourdough discard bread is easy and can make your bread last longer.
Troubleshooting Common Issues
Dealing with sourdough discard bread can be tough for home bakers. Knowing common problems helps make perfect loaves every time. Whether it’s a dense texture or rising issues, these tips will help you tackle sourdough bread challenges.
Fixing Dense or Heavy Bread
Dense sourdough discard bread can come from a few main reasons:
- Insufficient kneading time
- Over-measuring flour
- Inadequate gluten development
- Improper hydration levels
To fix the bread texture, focus on proper kneading techniques. Make sure to stretch and fold the dough well. Use the windowpane test to see if the dough stretches thin without breaking. This means you’ve got the right gluten.
Addressing Rising Problems
Sourdough discard bread rising issues can be a big challenge. Check these important factors:
| Problem | Potential Solution |
|---|---|
| Slow Rising | Ensure starter is active and room temperature is warm |
| No Rising | Verify starter’s strength and yeast viability |
| Uneven Rising | Improve shaping technique and proofing environment |
“Temperature and starter health are the secret weapons in successful sourdough baking.” – Professional Baker’s Wisdom
With consistent practice and patience, you’ll get better at sourdough discard bread. Remember, each loaf is a chance to learn!
Conclusion
Learning to make easy sourdough discard bread is more than baking. It’s a journey that connects you with old bread-making ways. Your homemade bread is a mix of ease and skill, turning simple ingredients into a tasty loaf that makes meals better.
The sourdough discard bread recipe you’ve learned is flexible and eco-friendly. It uses your sourdough starter discard, making delicious bread and cutting down on waste. Each slice is a story of smart use, with a taste that store-bought bread can’t match.
As you keep making this bread, you’ll get better at knowing your dough and how to bake it. Your skills will grow, letting you try new flour mixes and water levels. Remember, patience and practice are essential to becoming a skilled home baker.
This easy sourdough discard bread recipe is more than a way to make bread. It’s a chance to dive into the world of artisan baking, connect with old food ways, and enjoy making something tasty from scratch. Start your journey, enjoy every bite, and keep baking!


